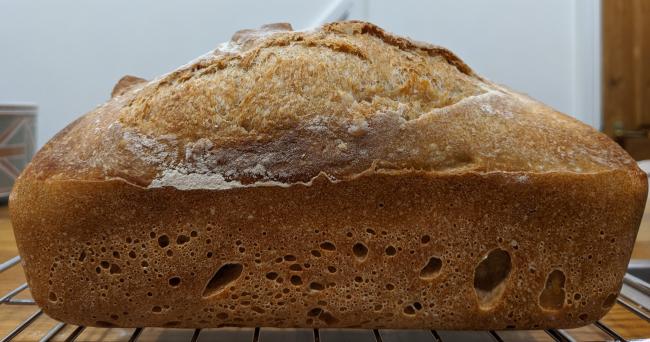
This time, I did both the bulk rise and the second rise on the same day - from autolyse to bake in 11 hours.
I wanted to rely on visual clues and my instincts, rather than just leaving for the times the recipe told me. And I wanted to avoid another over-proofed loaf.
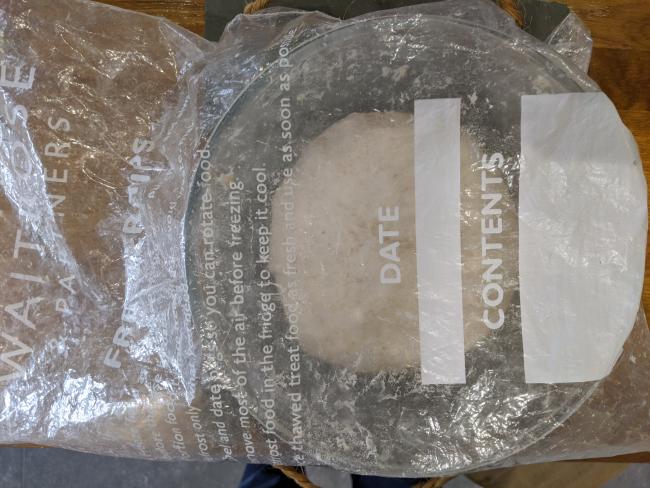
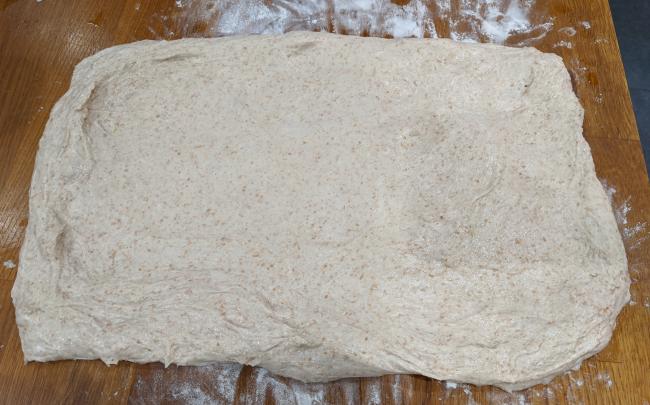
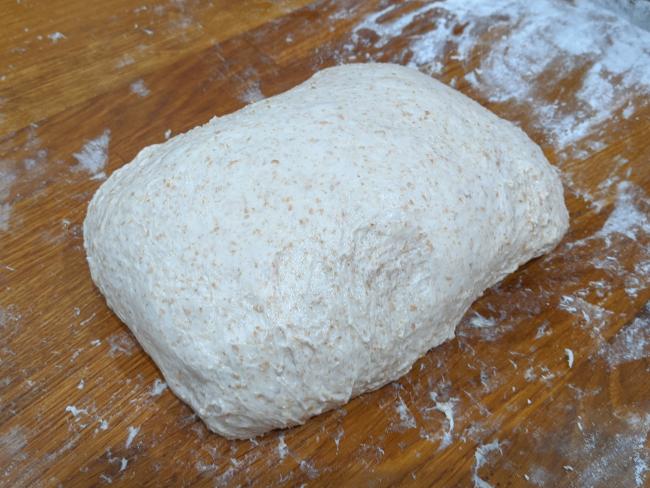
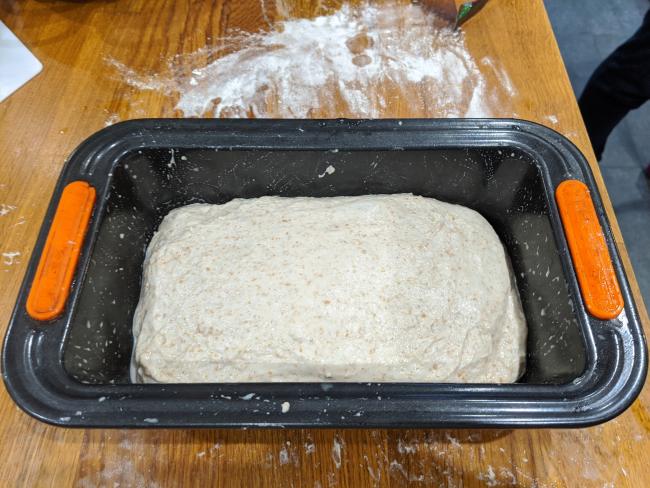
Starting from the same recipe I used before with the same variations: I autoloysed the flour and water on its own for an hour at 1pm, then folded in the starter and salt at 2pm, followed by four sets of stretch-and-fold.
For the initial rise I paid attention to the visual clues and decided the dough was ready when it had more than doubled in size, had a nice smoothh, doom shape and there were visible bubbles in the dough. This only took four hours. The dough was a delight to handle and easy to laminate and pre-shape into a nice oblong.
At 8.15pm, I transferred it to the tin and it grew steadily until it was as tall as the tin which took a further three hours.
At 11.20pm, I baked it for 20 minutes at 200C (electric, fan oven) and then a further 20 minutes at 180C. I then left to cool on a rack overnight.
What really surprised me was how much and how quickly the dough rose in the oven. More than I've seen in any of my other sandwich loaves, and definitely an indication that I had maybe over-proofed my previous efforts.
When cut, the loaf has an excellent crumb and an even distribution of holes. It also feels a lot lighter and springier than my past loaves.
