Your starter is ready and you want to bake your first loaf.
- Time: a whole day
What you’ll need
- 500g strong white bread flour, plus extra for dusting
- 350g room temperature tap water
- 125g vibrant, ready-to-bake starter
- 10g salt
- Cast iron casserole dish with a lid (Dutch oven) or baking cloche
- Large bowl
- Banneton proofing basket (round is best)
- Parchment/baking paper
- Sharp knife or lame
- Large plastic food bag (large enough for the bowl to fit into) or cling film
- Dough scraper (optional)
Method
Mix (30 minutes)
- In a large bowl mix the flour, water, starter and salt so that you have a shaggy mess.
- Place this in the food bag (or cover in cling film) and leave for 30 minutes.
Stretch-and-fold (1.5-2 hours)
- After 30 minutes perform your first stretch-and-fold: take the dough mix and pinch a large part on one side and bring it over the top. Turn and repeat on all four sides. Place it back in the bag to stop the dough from drying out.
- Repeat this two more times, leaving 30-40 minutes between each stretch-and-fold.
- By the third stretch-and-fold, you should have a glossy, tight ball.
Bulk proof (4-5 hours)
- Leave this in the food bag for 4-5 hours so that it increases in size by 50%.
- How long this step takes will depend on how warm your kitchen is: the warmer the day, the quicker it will be.
- 4-5 hours is the expected time if it’s a normal British day and the indoor temperature is around 20 C.
- Note that you’re looking for the dough to increase in size by 50% – not double in size!
- Other signs you’re looking for are more of those crumpet-style bubbles you saw in your starter and a domed shape on the top of the dough.
- Shake the bowl: it will wobble like jelly or custard when it’s ready.
- Knowing when your dough is ready is the most challenging part. If you’re not sure, leave it a little bit longer: on the whole you’re better to be over-proofed than under-proofed.
Rest (20 minutes)
- When it’s increased in size by 50%, gently prise the dough out of the bowl onto a floured worktop.
- Gently shape the dough into a circular ball, but try not to deflate it or stretch the dough.
- Leave it to rest on the worktop for 20 minutes.
Shaping (5 minutes)
- 20 minutes later, your dough should be more relaxed and may have spread out a bit on the counter. This is fine – it means it’s ready to shape.
- There’s no need to add any more flour to your worktop – in fact, you want the dough to stick to the worktop slightly to help with the shaping. You might, however, want to flour or wet your hands.
- Using your dough scraper or your hands, flip the dough over so that the sticky part that was on the worktop is now facing up.
- Gently flatten the dough out into a square.
- Fold the bottom into the middle and the two sides into the middle – a bit like an envelope.
- When you fold the final top side into the middle, pull the dough towards you so that it flips over again – the ‘envelope’ should now be facing down on the worktop.
- Now use the ‘cup and drag’ method to pull the dough towards you. Repeat this on all four sides so that you have a nice tight round boule.
Second proof (45 minutes – 1 hour)
- Flour your banneton and then lift the boule from the worktop. Flour the bottom of the boule as well and then place that in the banneton so that the smooth side is facing down.
- Place the banneton in the food bag.
- Meanwhile, put your casserole dish or bread cloche in the oven with the lid on and turn the oven on to 230C (fan).
- Wait at least 45 minutes. You need the dish to be piping hot.
- After 45 minutes, check the dough by giving it a gentle poke. If it:
- springs back instantly, it needs another 15 minutes
- springs back slowly and leaves a slight indent, it’s ready for the oven
- doesn’t move, you’ve left it too long – get it in the oven now!
Bake (45 minutes)
- When the dough is ready, take a piece of parchment/baking paper that is wider than your banneton and place this over the dough. Then, place a chopping board on top of that. Hold the board in place and flip everything over so that the banneton is now upside down on the chopping board and the parchment paper in-between.
- Slowly lift the banneton up so that the dough remains on top of the parchment paper. It should move easily, but if it gets stuck, gently prise it away from the banneton.
- You should now have a lovely piece of dough with visible lines from the banneton.
- Using a sharp knife or a lame, give a deep 1.5cm score along the top of the dough. This will help the steam escape and force the dough to rise.
- Carefully remove the hot casserole dish/baking cloche from the oven. Remove the lid and lift the baking paper from the chopping board into the dish.
- Put the lid back on and place the casserole dish/baking cloche into the oven.
- Bake for 25 minutes with the lid on at 230C.
- After 25 minutes, remove the lid. You should have a beautiful raised loaf that is significantly taller than when it went in.
- Lower the oven temperature to 200C and then bake for a further 20 minutes with the lid off.
- To check it’s done, tap the bottom of the loaf. It should sound hollow. If not, give it another 5 minutes.
Cool (2 hours)
- When it’s done, remove the casserole dish/baking cloche from the oven, take the loaf out, remove the baking paper and place on a wire rack to cool for at least 2 hours.
- Do not be tempted to cut into the loaf. It needs to completely cool before you can cut into it.
- After 2 hours, it’s time to get some butter and enjoy!
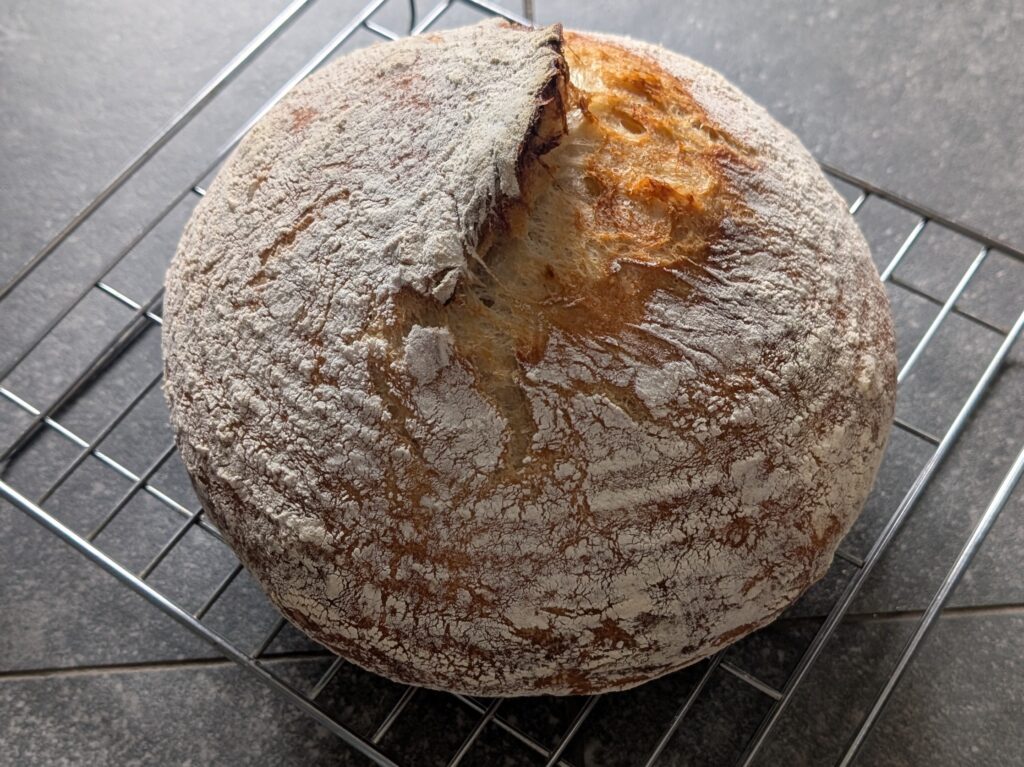
Well done, you’ve successfully baked your first loaf!
Troubleshooting
Something not quite right? Here are some common issues and the reason.
The loaf has a huge big hole/cavern when I cut into it
Cause: under-proofed (it hasn’t been fermented long enough)
A perfect sourdough loaf has lots of small, evenly spread air bubbles.
Essentially, your starter is a mix of wild yeast and bacteria. When you mix it with flour and water, the yeast eats sugars in the flour and produces carbon dioxide (CO2) as waste.
Meanwhile, the dough develops gluten which acts like a stretchy net to hold the CO2.
If you don’t proof long enough, the yeast won’t have produced enough CO2, and the dough will still be tight. The gluten won’t have had time to relax and stretch, so the gas won’t be evenly distributed through the dough.
Instead of many small bubbles, the CO2 collects in a few places and expands into large, uneven pockets, or caverns.
Solution: proof for longer. You want the dough to jiggle like a bowl of jelly and have visible bubbles.
The loaf is flat or collapsed
Cause: over-proofed (it has been fermented for too long)
If you proof for too long, the yeast will start to run out of food and the gluten structure will weaken and break down.
This means the gluten doesn’t have the strength to hold the CO2. The structure collapses, CO2 escapes, and the dough spreads instead of rising.
Solution: shorten the proofing time. The dough should spring back slowly when you poke it.